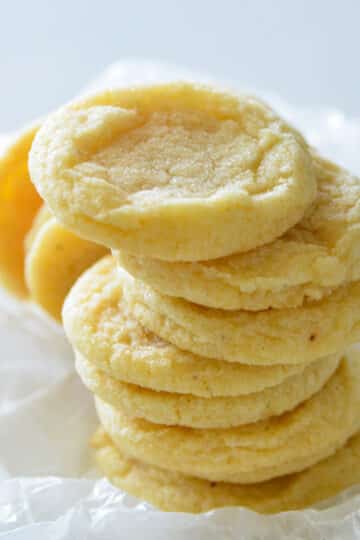
Food Photography takes time and patience. Here are some tips that have helped me along the way.

WHY IS PHOTOGRAPHY SO IMPORTANT IN FOOD PHOTOS?
Well, is it not true - The best food photos have you salivating, imagining, planning to make, pinning and sharing. What is great is that creating great food photos takes practice and can be learned. Yes, absolutely!
Yes! - it is most definitely possible to take awesome food photos without being a professional photographer and without pro gear. Below I have listed some key tips that have helped me along the way in my journey to improve my food photography.
10 FOOD PHOTOGRAPHY TIPS FOR BEGINNERS
- Food Photography Lighting - learn to take photos with natural lighting and artificial lighting. Learning both methods will give you more options and less frustration.
- Natural lighting - practice taking photos near a window with natural light. Turn off all other lights in the room, including the flash on your camera.
- Artificial lighting -this will give you options when the perfect natural light is not available and you are feeling super inspired and have prepared a drool-worthy needs to be photographed right now dish! I use this light and love it!
- The scrape of Light - a teacher in a photography class explained to me that food must be photographed to show texture (also referred to as a "scrape of light"). Think - light coming in from the side in the morning or late afternoon when the sun is lower in the sky. This angle will allow the sun to illuminate the food best for photos. Also, keep this in mind when setting up artificial light. When shooting, move around your subject taking photos from different angles.
- Garnishes and Props - add a splash of color with fabric, use interesting props, and adding a sprinkling of chopped herbs can make a huge difference in a food photo.
- Tripod - Ever since I started using my tripod, I have noticed my photos are clearer, crisper, and sharper.
- Inspiration Photos - Before photographing, google your food subject for inspiration photos. For example, if I am photographing a cookie, I might go to Foodgawker and search for "cookies". As you look through beautifully photographed cookies, you can brainstorm ideas for your photos.
- Light reflectors - learning the use of reflectors is important. My primary reflector is a white foam board I bought at a craft store for a few dollars. Position this board opposite your light source to bounce light back on your subject and to reduce harsh shadows. Try it by taking photos with and without the reflector. You'll see the difference!
- Use a prime lens- I use 35mm and 50mm. They are both good for food photos and are great for overhead shots. I use these lenses with my Nikon D5100 DSLR camera. The 60mm and 105mm f/2.8G is on my wishlist and is a favorite lens of food photographers.
- Diffuse Natural Light - if you shoot near a window with intense sunlight, your photos will look immensely better if you "diffuse" some of this light by placing a sheer white sheet or curtain over the window.
- Shoot in Aperture Priority Mode - many food photos look best when the main food subject is clearly in focus and the rest of the photo is slightly blurred (bokeh).
- Practice and Have Fun!- It can take a while for ISO, Aperture, and Shutter Speed to become very familiar terms, but I have found that every time I photograph I learn something new or something "clicks" to give me broader knowledge. It is fun when that happens!
FOOD PHOTOGRAPHY RESOURCES
I am an advocate of taking in-person food photography courses, (check out my experience at a Food Photography Workshop), reading tutorials and ebooks, as well as studying published books and materials. Here are a few links and I will add them to this list as I find additional resources.
Books -
The Food Stylists Handbook
FoodPhotography: From Snapshots to Great Shots
Food Photography and Lighting
Plate to Pixel, Digital Food Photography & Styling
Focus On Food Photography For Bloggers
Will Write For Food
Food Styling and Photography for Dummies
Ebooks -
The Food Photography Book
Equipment -
Nikon D5500
Nikon 35mm 1.8G prime lens
Nikon 50mm 1.4G prime lens
San Disk Extreme Pro (Memory Card)
Manfrotto Tripod
Camera Bag Insert
Lighting
Camera Bag Insert
Please feel free to leave a comment or let me know if you have a question. Thank you!
Before and After Photos:


60mm macro lens


Leave a Reply